
As we reference in the article "Indexing PST files", there are two ways to add PST files to your X1 index.
At some point you may need to remove a PST from the X1 index or at least temporarily terminate indexing of a particular PST for a period of time. Whether your need is to remove a PST permanently or temporarily this article will take you through the process.
To remove a PST permanently or temporarily, use the following steps:
(1) Navigate to Main Menu located on the top left of the user interface.
(2) Select Data Sources from the Main menu list.
(3) Under Configured Data Sources, select the gear icon corresponding to Outlook Email to edit your Outlook Email source. This will launch the Outlook Email Options window.
(4) Remove the PST by selecting the target PST and clicking 'Remove PST File' 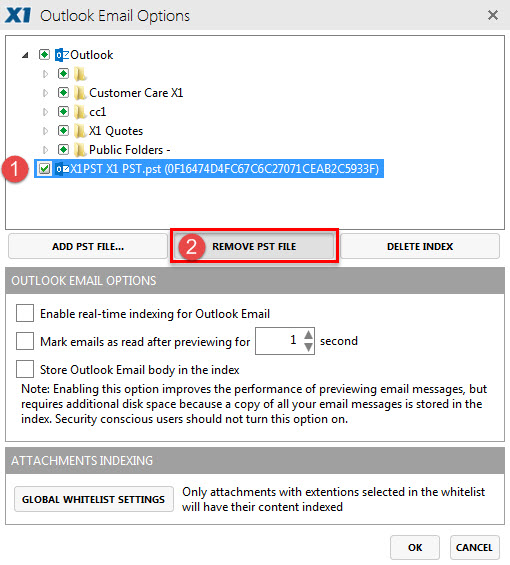
(5) You will need to confirm deletion by clicking OK. Click Cancel if you wish to keep the PST file in your X1 Search index.
Removing a PST in this fashion deletes the PST file from your X1 Search index. To add the PST file back to your index, you must re-add the PST file, and allow time for X1 to index the PST file.
When you are satisfied with your changes, please update your email index by following the steps below:
(1) Navigate to Main Menu located on the top left of the user interface.
(2) Select Data Sources from the Main menu list.
(3) Under Configured Data Sources, select the 'Scan Now' button corresponding to Outlook Email to 'Start Indexing' Outlook.