
It is easy to add, remove, or rearrange columns in your X1 Search Results List. First, we describe how to add and remove columns, then cover changing the order the columns appear.
Add/Remove Columns:
- Right clicking on any column name launches the Column Chooser menu, and select 'Choose Columns'.
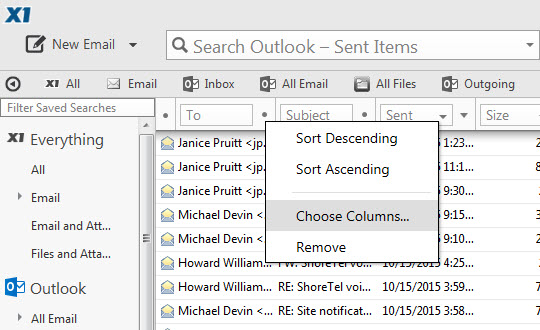
- When the menu appears, select ‘Columns’, displaying ’Available Columns’ and ‘Visible Columns’ lists.
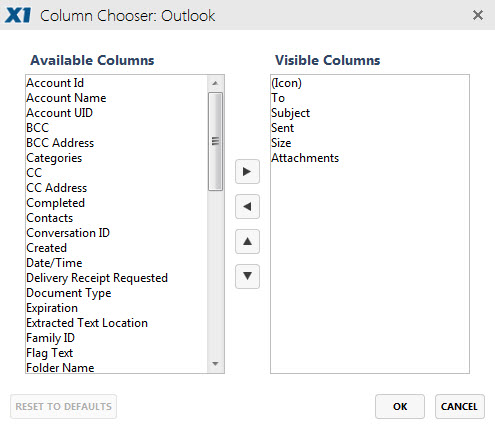
- Highlight column name(s) in the 'Available Columns' list, then click
 to add to your ‘Visible Columns’.
 - Verify that the column name appears in the Visible Columns list, and click 'OK'.
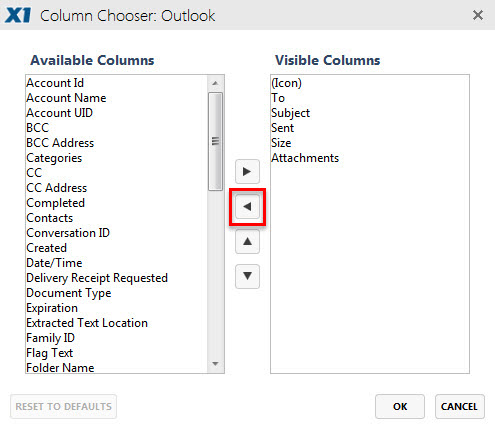
To remove a column, select the column name from the Visible Columns and click .
. 
Change Column Order
To change the order in which columns display, highlight the column you want to move, and use  to move the column up, and
  to move the column down.
The Visible Columns list displays the columns with Top-Down=Left-Right. So, the column name listed at the top of the Visible Column list will be the farthest left column in your X1 Search display.
Please note: You can also drag and drop columns from one list to another, or within the list, to reorder them.